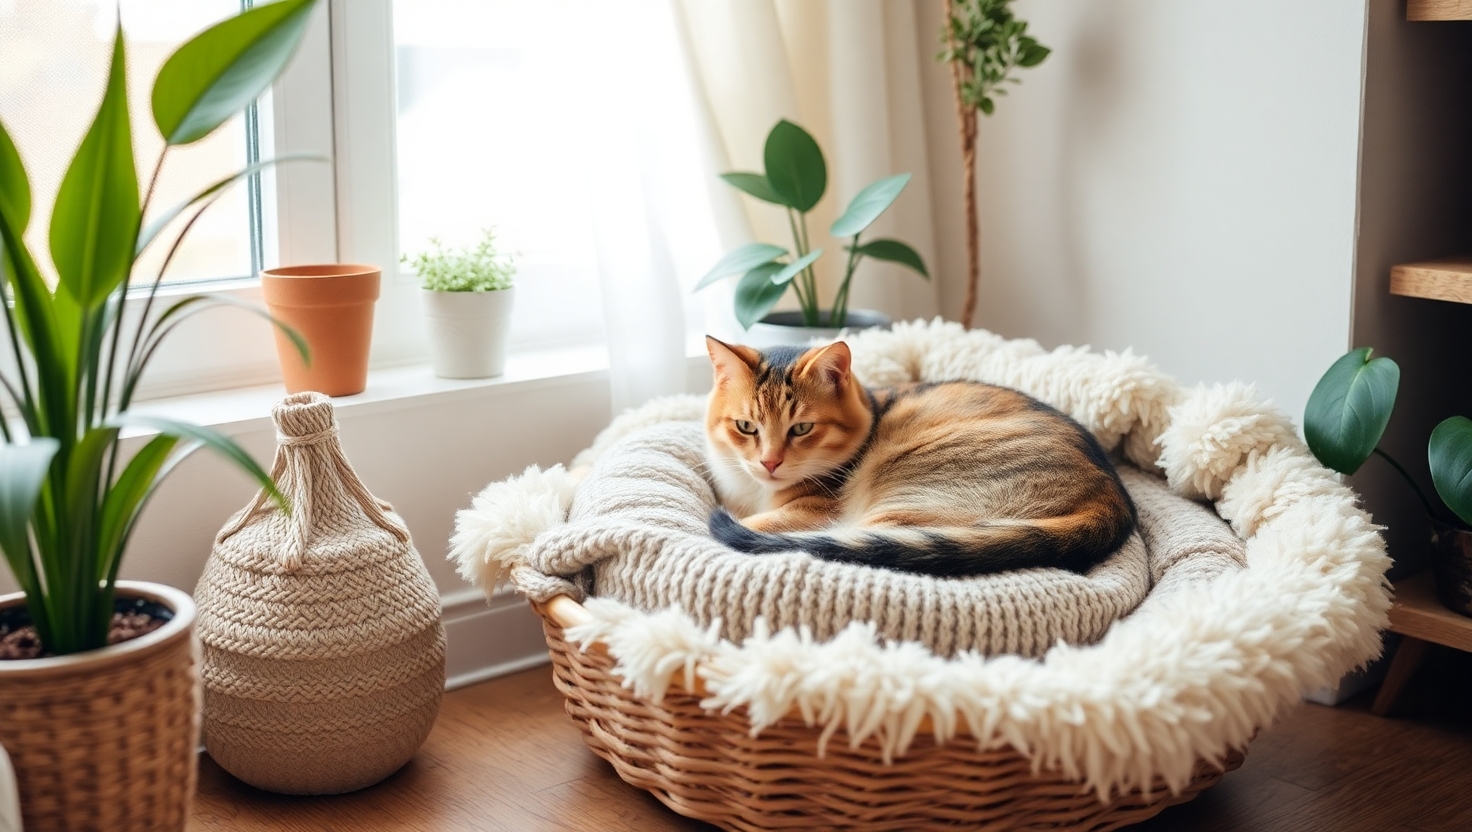
Every pet parent knows how much their furry friend enjoys watching the world from above. Elevated spaces satisfy a natural instinct while offering comfort and security. With simple materials and basic skills, you can craft a personalized retreat that blends seamlessly into your living area.
This project combines practicality with creativity, using accessible supplies like wood and soft fabrics. The gentle sway of the finished piece mimics the calming motion cats experience in nature. While some pets might need a few days to adjust, most quickly claim their new perch as a favorite nap zone.
Customization makes this project special. Choose colors that complement your decor or patterns that match your pet’s personality. The design’s compact footprint keeps floors clear while providing an ideal vantage point for curious companions. Best of all, you’ll create lasting memories working on something your furry family member will use daily.
Key Takeaways
- Elevated resting spots align with natural feline instincts
- Simple materials transform into functional pet furniture
- Suspended designs maximize space and provide motion comfort
- Customizable features ensure perfect household integration
- Beginner-friendly construction delivers professional results
- Cost-effective alternative to store-bought options
Essential Materials & Tools for a DIY Hanging Cat Bed
Assembling the perfect retreat requires careful selection of elements that balance sturdiness with plush comfort. Start with birch wood strips measuring 1.9cm thick – this thickness provides ideal support while remaining lightweight. Many crafters find pre-cut options at their local home improvement store, saving time and ensuring precision.

Gathering Wood, Fabric, and Chain
Soft, fluffy fabric proves essential for creating an inviting surface. Consider machine-washable options for easy maintenance. The suspension system needs 3 meters of chain or rope – enough to create four secure hangers. If using wood scraps, ensure they’re sanded smooth to prevent splinters.
Key components include:
- Wood glue for durable joints
- 1.9cm birch strips (2.5cm wide)
- Stainless steel screws for rust resistance
Tools You’ll Need for a Successful Project
Basic tools make assembly straightforward. A table saw delivers clean cuts, though hand saws work for smaller pieces. Keep scissors or a carpet knife nearby for fabric trimming. Most households already own the essentials:
- Measuring tape for accurate dimensions
- Pliers for chain adjustments
- Staple gun for secure fabric attachment
Pre-drill holes when using screws to prevent wood splitting. This simple step ensures your creation remains stable through years of playful use. With everything gathered, you’re ready to transform raw materials into a cherished resting spot.
Designing Your DIY Hanging Cat Bed
Creating a comfortable elevated space begins with precise measurements. A 40x40cm square offers ample room for lounging while keeping the structure stable. Use painter’s tape to mark dimensions on your workspace before cutting materials.

Precision in Every Cut
Accurate measurements ensure all components align perfectly. Double-check wood strip widths using a carpenter’s square – even small errors can affect stability. Pre-cut materials save time if you lack advanced tools.
Consider these factors when planning:
| Design Aspect | Beginner Option | Advanced Option |
|---|---|---|
| Shape | Square (easier angles) | Hexagon (complex joints) |
| Tools Needed | Hand saw, measuring tape | Table saw, miter box |
| Time Required | 2 hours | 4 hours |
| Difficulty Level | ★☆☆☆ | ★★★☆ |
Sketch your plans on grid paper to visualize spacing requirements. Account for your pet’s stretching habits – some prefer extra corner space. Allow 15cm clearance around the frame for easy fabric attachment later.
Set realistic timelines based on your skill level. First-time builders should allocate two sessions: one for cutting materials and another for assembly. Keep a digital timer nearby to track progress without rushing.
Building the Frame and Structure
A solid foundation transforms raw materials into reliable furniture. Start by laying out four birch strips on a flat surface. Each piece should measure exactly 40cm – even a 2mm difference can affect stability.

Cutting and Preparing Wood Components
Use a table saw for uniform cuts across all strips. Sand edges thoroughly until they feel smooth to the touch. Halving joints create interlocking corners that handle active pets better than basic connections.
Assemble a dry run without glue first. This lets you verify angles and make adjustments. Wipe away any wood dust before final assembly – particles can weaken adhesive bonds.
Aligning Chain or Rope Supports
Divide your chain into four 75cm sections using wire cutters. Attach carabiners to each end for easy height adjustments later. Hang the frame temporarily from ceiling hooks to test balance.
Mark drill points on wall brackets while the structure hangs level. Pro tip: Use painter’s tape on surfaces to prevent scratches during installation. Double-check measurements before making permanent attachments.
Secure chains at 45-degree angles from each corner. This diamond pattern distributes weight evenly and prevents swaying. Test stability by gently pushing the frame from different directions before adding fabric.
Connecting Pieces and Securing the Structure
Strong connections form the backbone of any reliable pet furniture. Proper fastening techniques ensure your creation withstands daily use while keeping furry companions safe. Let’s explore methods to achieve professional-grade durability without specialized tools.
Fastening Methods That Last
Combine wood glue with mechanical fasteners for unbeatable strength. Apply adhesive to halving joints before inserting nails – the glue fills microscopic gaps while metal components handle immediate pressure. If using screws, always pre-drill pilot holes to prevent splitting delicate wood strips.
Three essential tips for success:
- Trim protruding nails with pliers for smooth surfaces
- Check joint alignment every 15 minutes during assembly
- Use #6 stainless steel screws for rust resistance
Smart Drilling Practices
Drill bits should match screw diameters exactly. For 2.5cm wood strips, set your drill’s depth stop to prevent accidental through-holes. Test your technique on scrap pieces first – proper execution reduces construction difficulty and ensures consistent results.
Always verify tightness before proceeding to the next step. Gently rock the frame from multiple angles to identify weak spots. This quality check takes seconds but prevents hours of repairs later. Remember: Patient builders create structures that survive even the most energetic pets.
Finishing Touches: Fabric Attachment & Safety Considerations
The final steps transform a simple frame into a plush retreat your feline will adore. Proper material selection and secure installation ensure both comfort and peace of mind.

Mastering Material Draping
Cut soft textiles with 10cm excess on all sides for perfect sag. This creates a nest-like curve similar to woven baskets. Stretch fabric taut before securing with rust-resistant staples spaced 5cm apart.
| Fabric Type | Cleaning Ease | Durability |
|---|---|---|
| Fleece | Machine wash | High |
| Microfiber | Spot clean | Medium |
| Quilted Cotton | Hand wash | Premium |
Creating Safe Exploration
Position the completed perch near a sunny window but 30cm from glass surfaces. Most pets adapt to gentle motion within 72 hours. Observe initial interactions to ensure confident use.
Veterinarians recommend checking these safety points:
- Secure all cords behind furniture
- Test weight capacity with heavy books
- Install wall anchors in studs
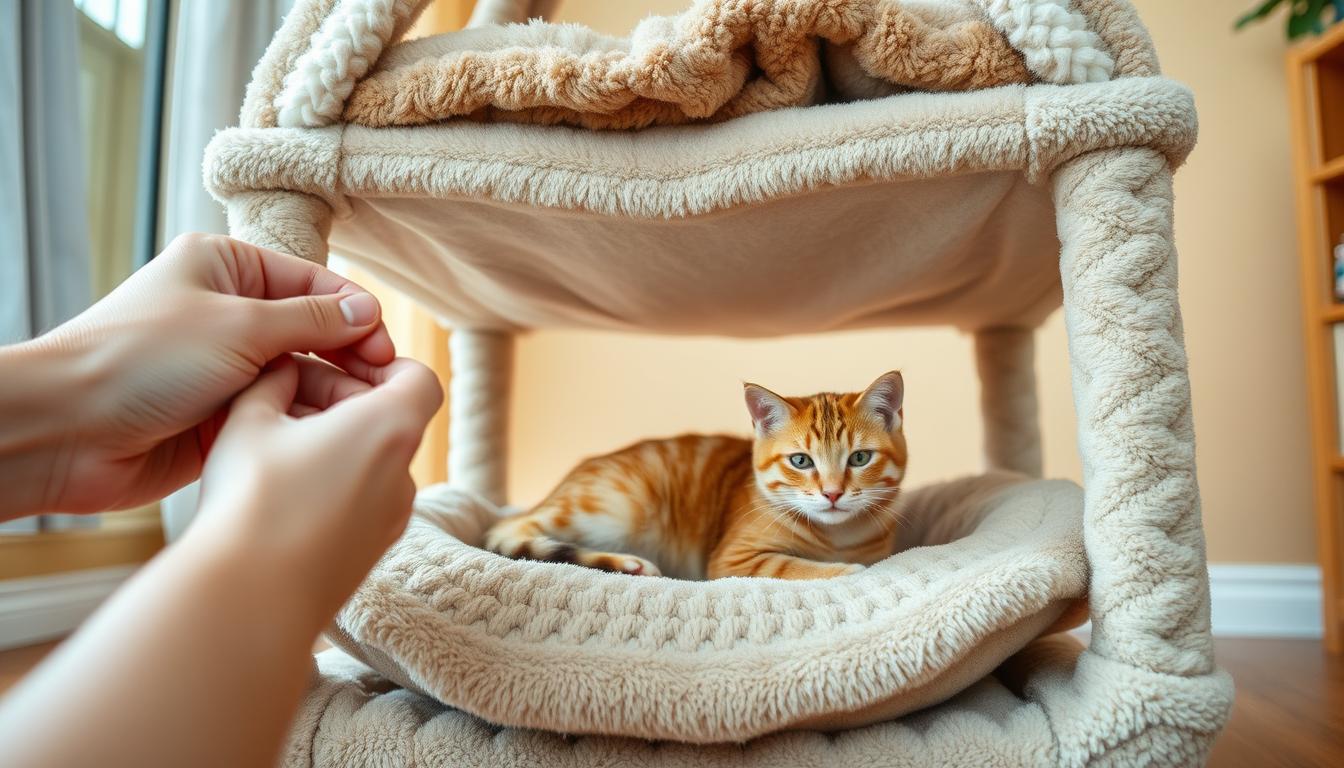
Place familiar blankets on the surface to encourage use. Avoid baby-proofing latches near the installation area. Regular inspections prevent wear-related issues.
Conclusion
Transforming simple materials into a beloved pet perch showcases both creativity and care. Your completed creation delivers a secure lounging space that aligns with natural instincts while enhancing your home decor. Future upgrades like detachable legs or rounded shapes can adapt to your companion’s evolving preferences.
This project proves detailed instructions yield professional results without store prices. Share photos of your finished piece online to inspire fellow owners – your feedback helps others tackle similar builds. Position the structure near a sunny window where whiskered companions can survey their domain comfortably.
Success here opens doors to advanced ventures like wall-mounted shelves or multi-level towers. Watching your feline friend claim their new spot reinforces the value of hands-on care. Through thoughtful craftsmanship, you’ve created more than furniture – you’ve strengthened your bond one cozy nap at a time.
FAQ’s
What materials are safest for my pet’s new resting spot?
Choose non-toxic, durable options like untreated plywood, natural cotton fabric, and metal chains or ropes. Avoid materials with sharp edges or loose fibers that could pose risks.
How do I ensure the structure holds my furry friend’s weight?
Reinforce joints with screws and shelf brackets for extra support. Test the bed’s stability by gently applying pressure before letting your pet climb on it.
Can I customize the size for larger breeds?
Absolutely! Adjust measurements based on your pet’s needs. Use thicker plywood and heavier-duty hardware for bigger builds to maintain safety and comfort.
What tools are necessary if I’m a beginner?
A drill, measuring tape, and sturdy scissors are essential. Pre-drilling holes prevents wood splitting, and sanding edges ensures a smooth finish.
How can I encourage my feline to try their new perch?
Place familiar blankets or toys inside. Position it near a sunny window or their favorite lounging area to spark curiosity and comfort.
How often should I check the bed’s stability?
Inspect screws, ropes, and fabric attachments monthly. Tighten loose parts immediately and replace worn materials to keep the setup secure.
Can I wash the fabric without damaging the bed?
Use removable, machine-washable covers. Secure them with Velcro or clips for easy cleaning while keeping the design intact.
Also Read: